Frame For An Extra Wide Awning
Valance
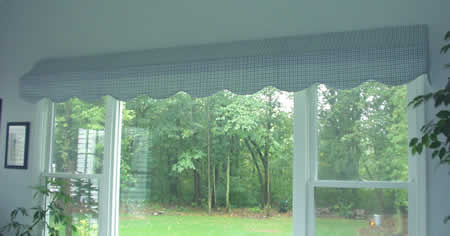
The Awning Valance
is a charming valance to bring a casual, outdoor feel into a family room
or kitchen. Traditionally, awning valances are mounted on two standard
white rods. The upper rod has a shallow projection, the lower rod a larger
projection. The valance is cut and tailored to follow the projections
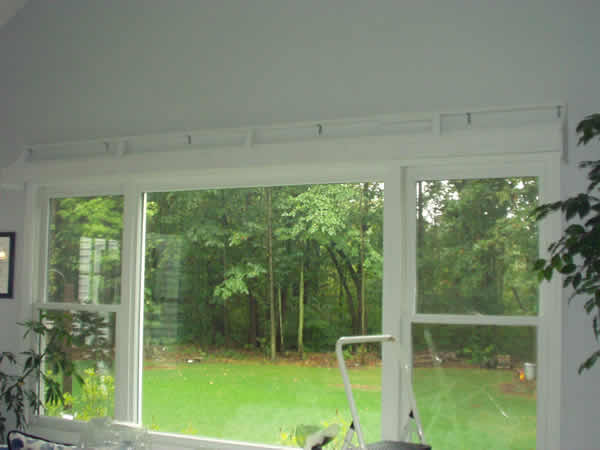
of the rods. A problem presents itself, though, when the window is over
40" wide. The standard rods are not able to hold their shape without
sagging. The lower rod is often below the window line and there is no
place to mount a support for it.
In A SewWhat? News
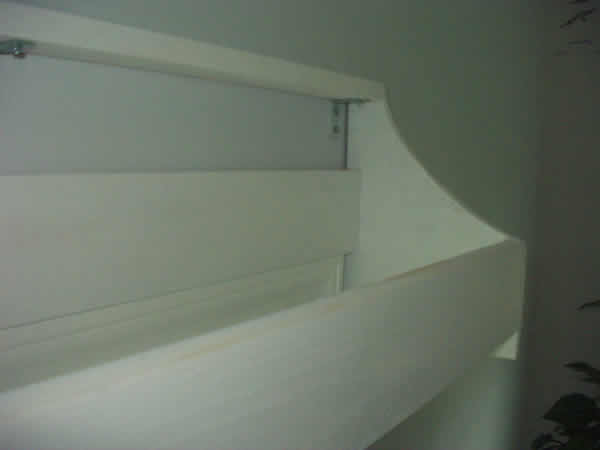
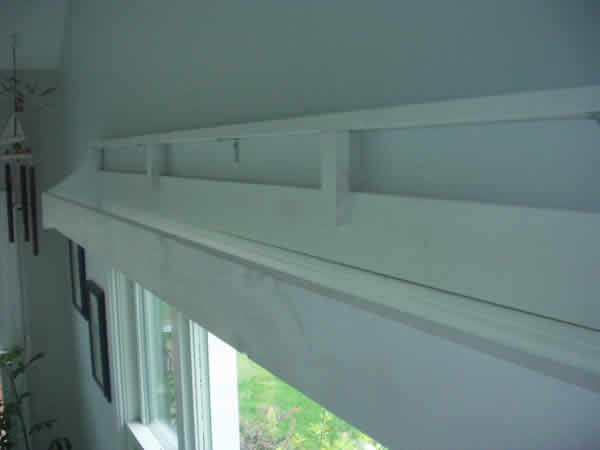
article, Susan Day designed an awning frame which was sturdy up to 72"
wide. She used plywood to cut the shaped sides and 1x2 board for the top
line. These pieces were glued and nailed together like a cornice. A rod
was set in the front of the projection to support the lower half of the
valance across the width of the window.
My problem was a window
that was 125" wide. I needed to take Susan Day's valance frame and
re-engineer it to be sturdy over a ten foot span. |