sew easy windows  
home button    -     photo button    -    articles button    -    store button     -   links button   

This awning frame spanned 125". The general structure was taken from Susan Day's article in SewWhat Newsletter, but expanded upon in order to get the support for the width.

Her pattern used a rod across the front for support of the valance. I chose to turn a 1x4 on its side. This allowed it to span a very wide window without sagging.


I used a 1x2 across the top and turned another 1x4 on its side for a back brace 1/2 way down. This design served two purposes:

1. There was space for the angle irons. They could be mounted first, then the entire frame lifted and set on them for stability while screwing them in.

2. The middle brace sat on the top of the window casing, adding extra support to the entire frame.

3 support colums braced the top board and kept it firm.

The pieces were put together with wood glue and nails - the same method as for building a cornice board.


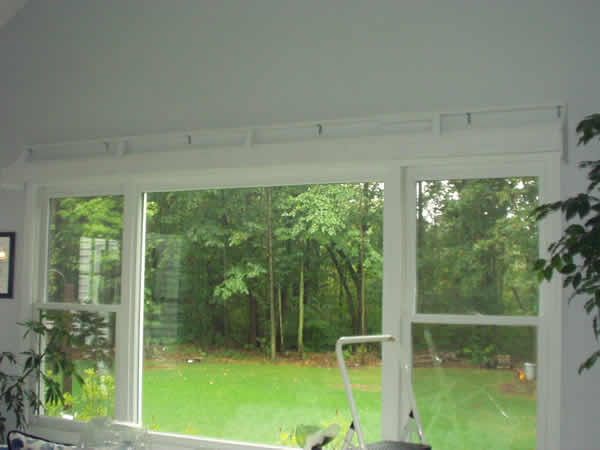
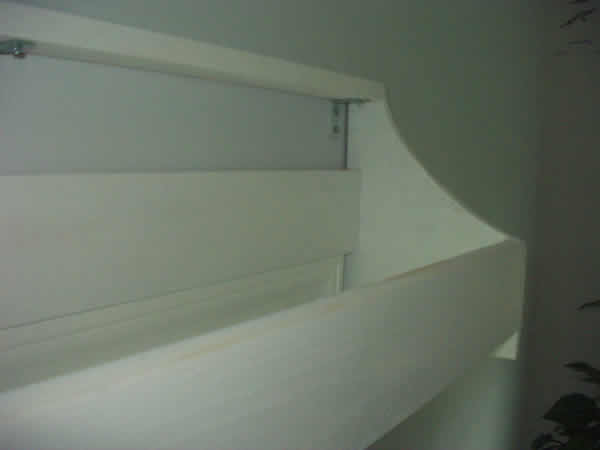
The entire frame was very stable and strong and could be handled and lifted into place by one person. It was raining the day I delivered, so it had to stick out the window of the van. The valance was velcroed to the top and sides of the frame.

My one mistake? The valance should have been lined in blackout. The shadows from the framing were distracting to me.

See the finished shade: http://seweasywindows.com/gallery/photo_shade5.html


Return to the Sew Easy Windows articles Table of Contents page.

Member of:

WCAA - Window Coverings Association of America

Drapery Pro

Professional Windows

Workroom Association of America

Custom Home Furnishings Academy - Instructor

Greater Cleveland Drapery Professionals

WCAA logo         WCAA award


home button    -     photo button    -    articles button    -    store button     -   links button

©2001 - 2003 - 2004 - 2005 - 2006 - 2007 - 2008 - 2009 - 2010            

AKJ Workroom & Sew Easy Windows